Diy joining artificial turf
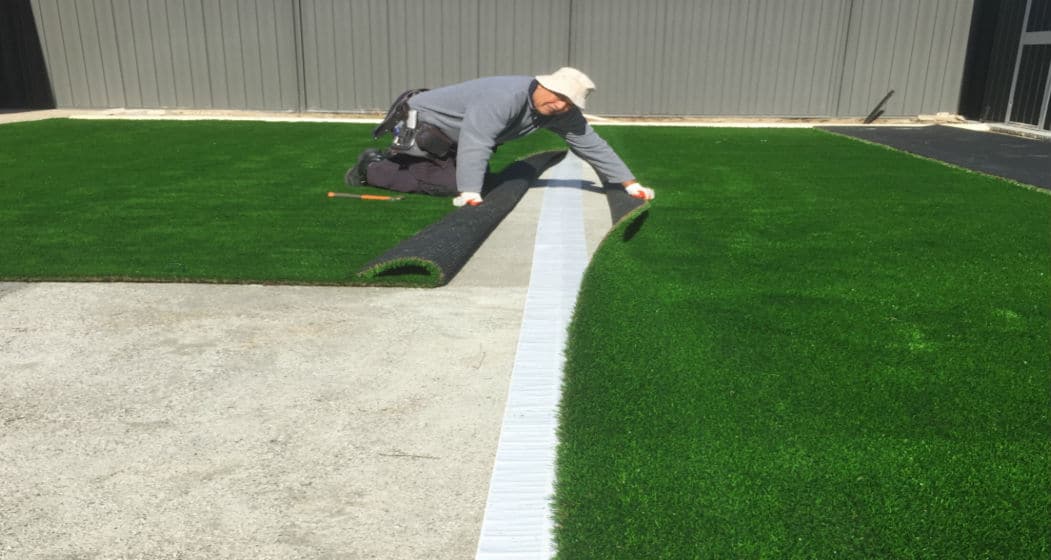
Hears Diy joining artificial turf tips. wa found that different installers have developed their own preferred method for using the tape and the following methods have proved the most popular
:diy-joining-tape-wa-turf-gurus
1.Align the grass panels on the ground so that the seams are perfectly butted to each other.
2.Open the seam by folding the grass back on itself on both sides. If the grass
has been laid on a prepared crushed rock bed then normally a faint line will be left imprinted in the stone and this can be used as a guide to ensure that the tape is centered.
3,Unroll the tape, adhesive side facing up, ensuring that it is centered. If it is a long seam then some installers will knock a galvanized nail into the base along the joint line just to act as a reference (these are then pulled out as the tape is laid down). Some installers like to actually anchor the end of the tape to the ground by putting a galvanized nail through the leading edge of the tape at the start of the join (particularly those that prefer using method 4B).continuse to follow Diy joining artificial turf on 4a
4A. Strip the release liner from the tape taking care not to move the tape off the centre line (if there are two operators then one can hold the end in place, otherwise a nail will help to stop the tape moving off the centre line). Once the
Adhesive is fully exposed carefully fold the seam back into place one side at a time. Note, the 150mm roll shave a split release liner and this allows one half to be removed at a time and some installers may find this an easier method.
If using this type of tape, follow Steps 1-3 as above and then remove the first half of the liner and fold back the first panel of grass into place applying pressure along the seam join. Then replace the second panel with the release liner still in-situ before removing the second half of the liner through the gap. It is vital that you keep the adhesive clean and free from dust and any other particle contamination.
Alternatively, Diy joining artificial turf
4B. Having unrolled the tape onto the ground remove about 2-3 meters of release liner and then replace the seams of grass in place (this will leave the “tail” of release liner sticking through the join). Ensure that the tape is well bonded to grass backing on the exposed area by applying firm pressure with your feet. Then you can start to pull there remaining ”tail” of release liner through the gap. This method stops dirt blowing on to the adhesive if there is a breeze and also makes sure that the grass fibers do not stick to the adhesive as the release liner pull them up and away from the adhesive. If you use this method then it is
best to walk slowly backwards keeping a steady, even tension on the
release liner and pulling the liner off at an acute angle so that the tape is not lifted off the ground. Some installers like to use nails to hold the tape in place but this can cause problems with the tape bunching up and forming a fold and so is generally not recommended. Care should be taken to ensure that all the release liner has been removed.
Apply firm pressure along the entire area of the join. Whilst some installers have special tools, a wheelbarrow full of sand is a good option. It is important to apply firm pressure to the entire bonding area.surface is now ready to have the in-fill applied.if you need further instruction Diy joining artificial turf please call us we also have full range of synthetic turf in Perth
To learn Diy installation of synthetic lawn click here.

[themify_map address=”perth”]
Suburbs Landsdale, The Vines, Brabham ,Wangara, Burns Beach, Iluka, Ellenbrook, Darch, Burns Beach ,Wanneroo ,Tapping, Banksia Grove
Products Artificial lawn , Artificial grass, Synthetic Grass, Synthetic turf ,Synthetic Lawn, Artificial turf,fake lawn

